1. Open Photoshop Elements
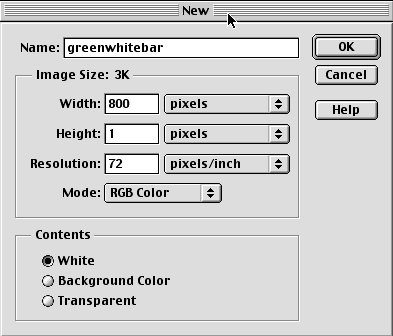
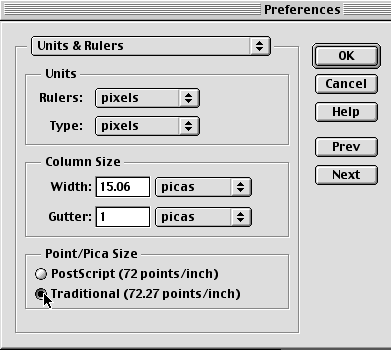
2. Open a New Document by going to File > New


5. Click on View > Show Rulers
to see the number of pixels in the bar being created.
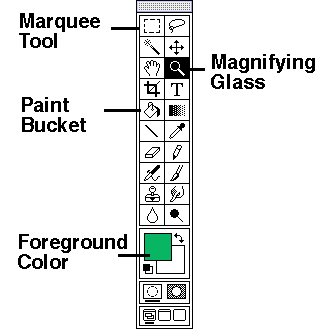
6. Double click in the middle
of the Foreground Color to open the Color Picker dialog box. Choose
any color you desire.
7. Select the Magnifying Glass in the tool palette.
8. Click on the bar two or three time to enlarge it. To shrink the bar, hold the Alt or Option keys while clicking. When you hold the Alt/Option key, notice that the middle of the magnifying glass turns from a "+" to a "-".

9. Resize the window by clicking and holding the bottom right corner of the window and dragging it to the right. Make sure the units 0 through 100 are visible at the top of the window.
10. Click on the Marquee tool in the tool palette.
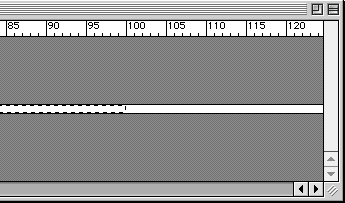
11. Your cursor changes to a cross. Click and hold on the top left of the white bar on the far left and drag the cursor across the screen to the far right until you reach the bottom right of the white bar at the 100 pixel mark. Your white bar should have "marching ants" moving around it from the O to the 100 pixel mark. This is the selected region.

12. Click on the Paint Bucket icon.
13. Click anywhere in the selected region with the tip of the paint bucket. The left side of the white bar (100 pixels you have selected) should turn green.
14. Go to File > Save for Web... and then choose OK from the first dialog box. Then identify where to save the image. Choose Save.